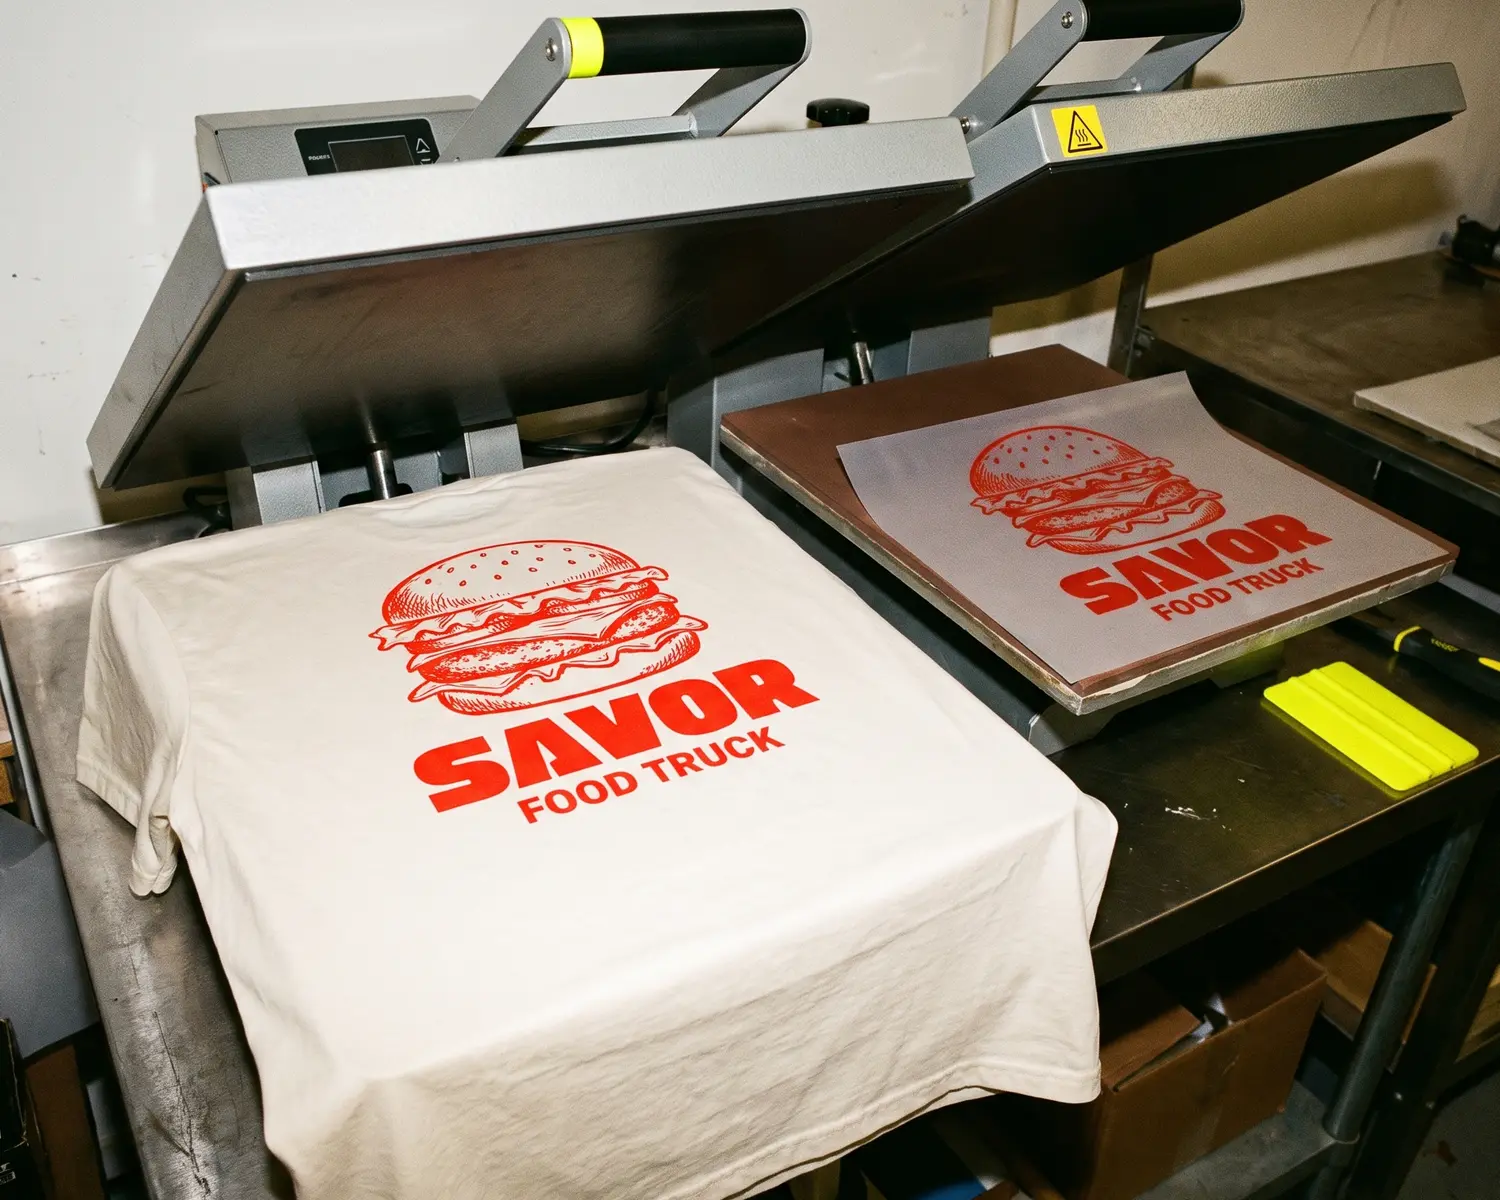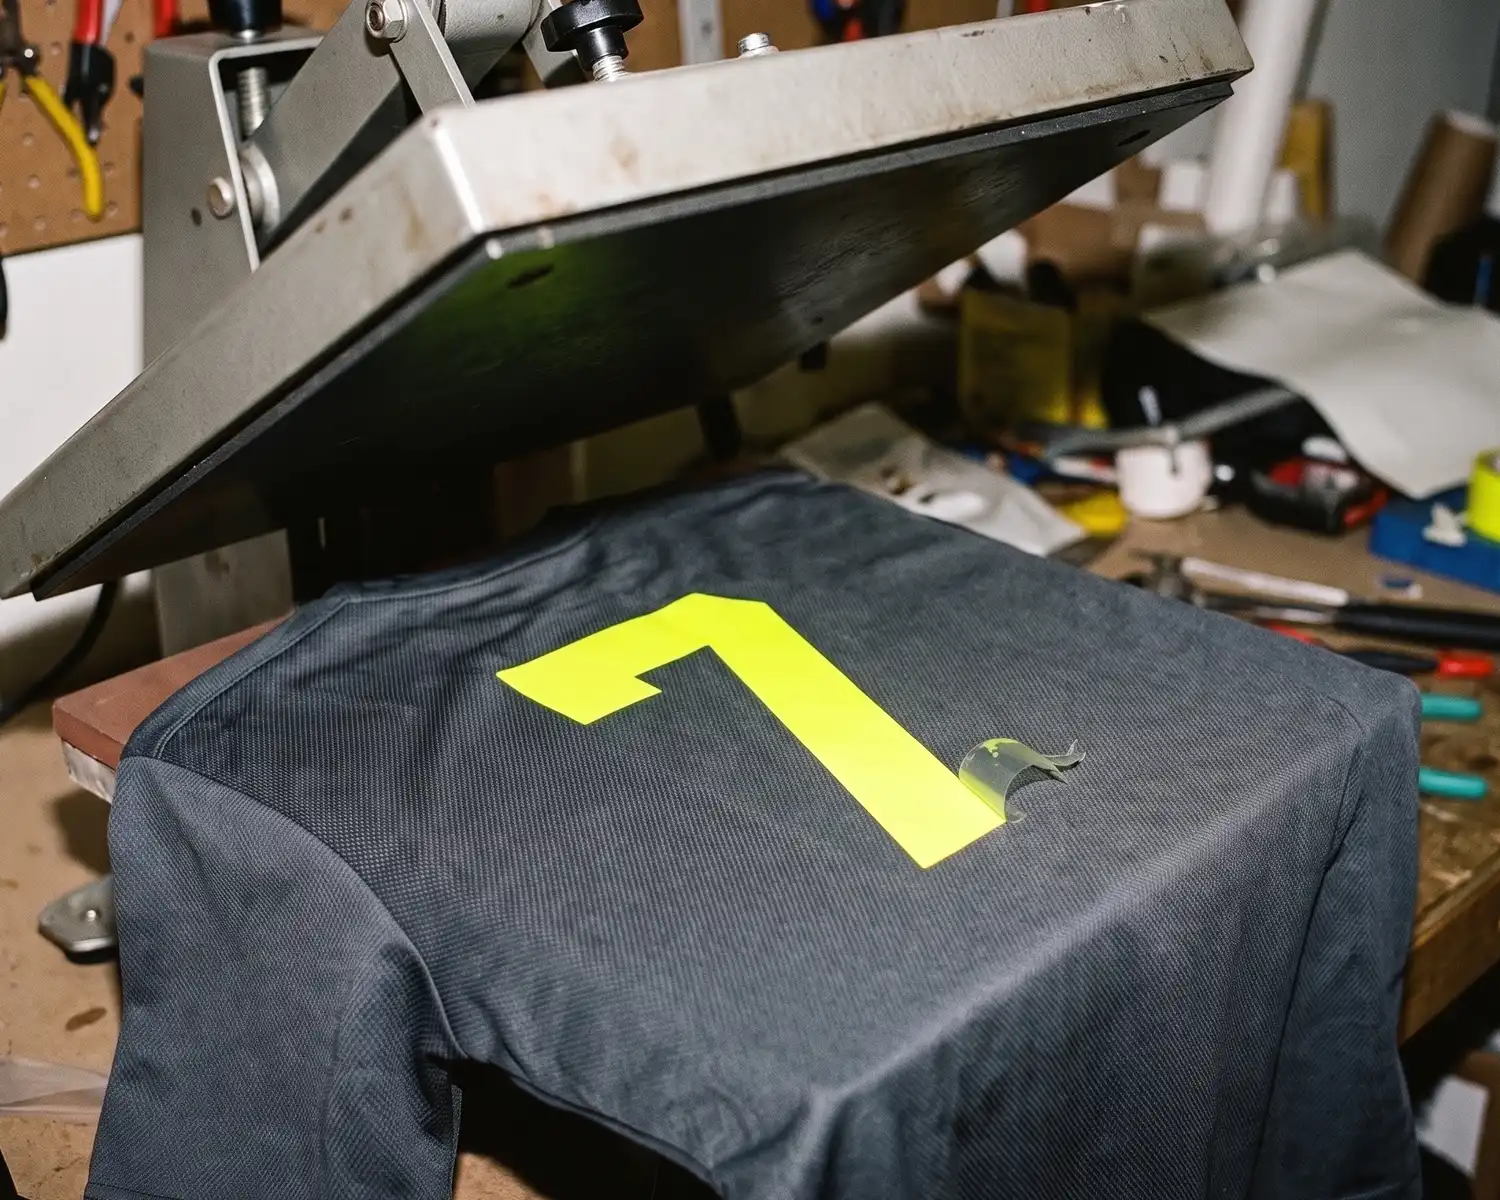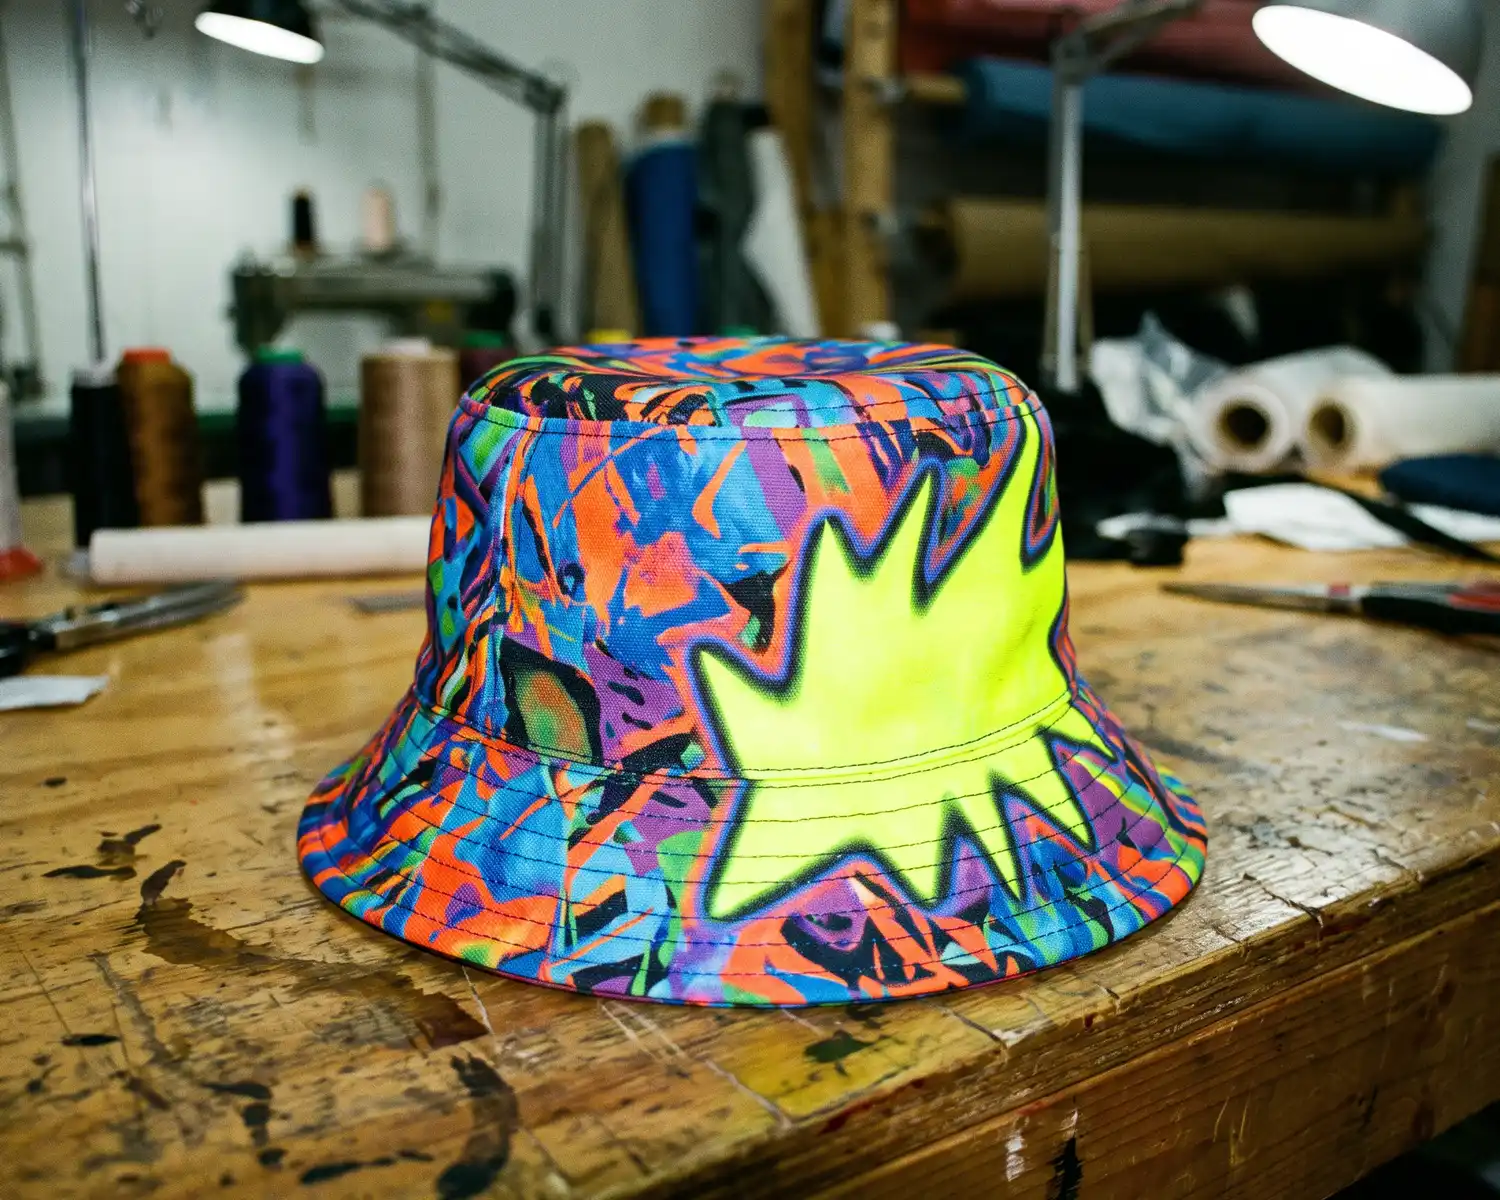
To get t-shirts printed, the journey takes seven steps: define the need, choose the garment, prepare the file, choose the technique, compare two quotes, approve the proof, receive and check. Allow a few weeks for a planned run, and from a single piece for a one-off project.
The essentials in 4 points:
- A successful first project is decided in order: the need first, the garment next, the technique last.
- Your design file is the number one cause of delays: prepare it early, ideally in vector format.
- From about ten pieces, get at least two workshops to quote exactly the same request.
- The proof, the preview you approve before production, is your only real protection: never sign it off lightly.
An event coming up, a team to outfit, a club that wants its t-shirt: you have never had textiles printed, and you are discovering a world of techniques, minimums and quotes that never look alike. Good news: the journey is always the same, and it can be mastered in seven steps. This guide is written by a directory: we print nothing, we list hundreds of workshops, and our only interest is that your first project succeeds.
Step 1: define the need, before anything else
Three questions are enough, but they condition everything:
- How many pieces? One, ten or a hundred lead neither to the same techniques nor to the same doors.
- For when? An event date sets the calendar backwards: production, approval, and the safety margin.
- Who wears them? A team wearing them weekly has different durability needs than a one-weekend event t-shirt.
The classic mistake: starting by looking for "the best technique" before answering these three questions. The technique is a consequence, never a starting point.
Step 2: choose the garment
The t-shirt itself is chosen with the design in mind: the fabric (cotton for classic printing, polyester for sport), the weight (the fabric's thickness), the cut (crew neck, V-neck or raglan sleeves) and the color, which conditions how inks render.
Two first-project landmarks: the crew neck with set-in sleeves is the simplest canvas for a design, and a light-colored garment simplifies printing. If the team supplies its own garments, say so from the first contact: not every workshop accepts them.
The classic mistake: picking a catalog model on price alone, and discovering on delivery that the too-thin fabric is see-through or the cut suits nobody. Ask for a sample as soon as the run exceeds a few dozen pieces.
Step 3: prepare the file
This is the number one cause of first-project delays. A workshop works best with a vector file (the format where your logo scales up without losing sharpness: .ai, .svg, .eps, some .pdf). A simple export of a pixelated logo found on a website will not deliver a clean result.
If all you have is a regular image (.jpg, .png), send it anyway: many workshops offer to rework or vectorize it, sometimes billed, often included. Also specify exact colors if your organization has brand guidelines.
The classic mistake: sending a screenshot of the logo. The final print forgives nothing the screen tolerates.
Step 4: choose the technique, without jargon
Remember the logic rather than the names: each technique has its playing field.
- Screen printing: the benchmark for identical runs, from a few dozen pieces. Ink in the fiber, per-piece cost that melts with volume.
- DTF transfer: the Swiss army knife of small quantities and colorful designs, viable from the first piece.
- Flex (vinyl): names, numbers and simple logos applied piece by piece, the jersey standard.
- Embroidery: the premium finish for polos and jackets, which costs more but lasts.
Your quantity and your design almost always point to the technique by themselves (our comparison of techniques covers every case), and a good workshop confirms the choice in one sentence. Just beware of the provider who systematically recommends the only technique they own.
Step 5: get and compare quotes
From about ten pieces, get at least two workshops to quote, with exactly the same request: same model, same design, same placements, same quantity. It is the only honest comparison.
Read the quotes with three questions: is the garment included or are you supplying it? Are fixed fees (file, setup) counted? Is the price excluding tax? Two quotes that look far apart often tell the same price, broken down differently.
The classic mistake: comparing a "marking only" price with a "complete garment" price. That trap explains half of all bad surprises.
Step 6: approve the proof, your real protection
Before producing, the workshop sends you a proof: the exact preview of what will be printed, size, position, colors. It is the moment when EVERYTHING can still be corrected, and the document that rules afterwards.
Check it like a contract: the spelling of every word, the design's size against the garment, the exact placement, the colors. A mistake approved on the proof is a mistake printed at your expense.
The classic mistake: approving from your phone, in a hurry, between two meetings. A proof is read large, with a clear head.
Step 7: receive and check
On delivery, open the boxes immediately, not the day before the event: count the pieces, check the sizes received against your order, and inspect a few markings at random. An issue flagged immediately almost always gets solved; discovered three weeks later, rarely.
And keep the workshop's contact: restocking (the five extra pieces for newcomers) is a thousand times simpler with the one who already has your files and references.
The typical first-project calendar
| Moment | What happens |
|---|---|
| D-30 and before | Need defined, garment chosen, file prepared |
| D-21 | Quotes requested from two workshops, comparison |
| D-15 | Workshop chosen, proof received and approved |
| D-15 to D-5 | Production |
| D-5 | Delivery, box check |
A single-piece or very small project plays out in a few days; a large run with a sample needs more margin. In every case, the golden rule: the approved proof is what triggers production, so every day gained upstream is gained on the total lead time.
Where to start, concretely
Define your three answers (how many, for when, for whom), prepare your file, and start the conversation with two workshops near you: everything else flows from there. That is exactly what this directory lists, city by city and technique by technique, and every step of this guide has its own article to go deeper when you get there.
FAQ
Frequently asked questions
How long does it take to get t-shirts printed?
For a single piece, a few days are often enough. For a run, count the quote, the proof approval, then production: plan a few weeks end to end, and ask for the exact schedule with the quote, it is a good test of seriousness.
Is there a minimum quantity to order?
Not necessarily: DTF and flex work from the first piece. Screen printing only makes sense from a few dozen identical pieces, and some workshops set their own minimums: ask upfront.
What budget should I plan?
It all depends on the technique, the quantity and who supplies the garment: market ranges go from a few euros per piece in large runs to around twenty euros for a complete single piece. Get your precise case quoted: it is free and replaces every average.
What file should I send the workshop?
Ideally: a vector file (.ai, .svg, .eps). Failing that, the best image you have, as large and sharp as possible: the workshop will tell you whether it can rework it, and at what cost.
Can I get a single t-shirt printed?
Yes: DTF transfer and flex allow it with no run fees, in stores and workshops alike. It is also the right way to test a result before launching a full run.
Over to the workshop
You know what you need. Find the workshop that makes it.
The directory lists workshops city by city, with their techniques and direct contact. A fast quote answers you within 24 hours.