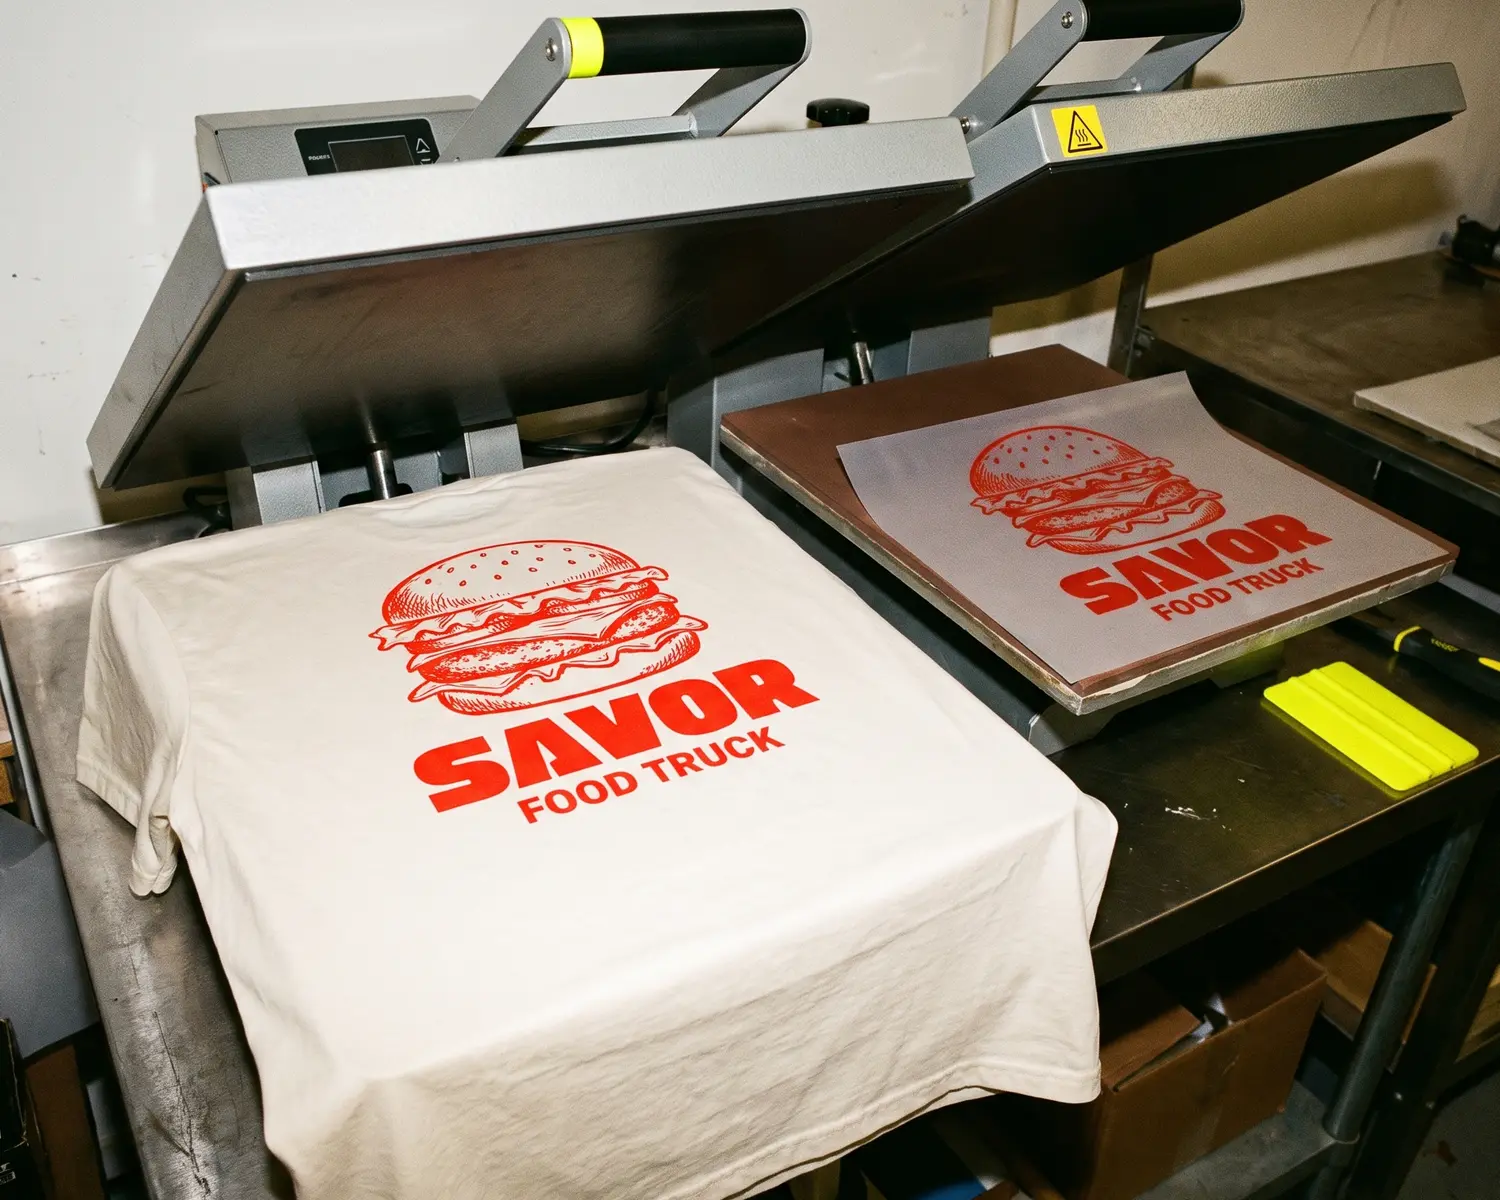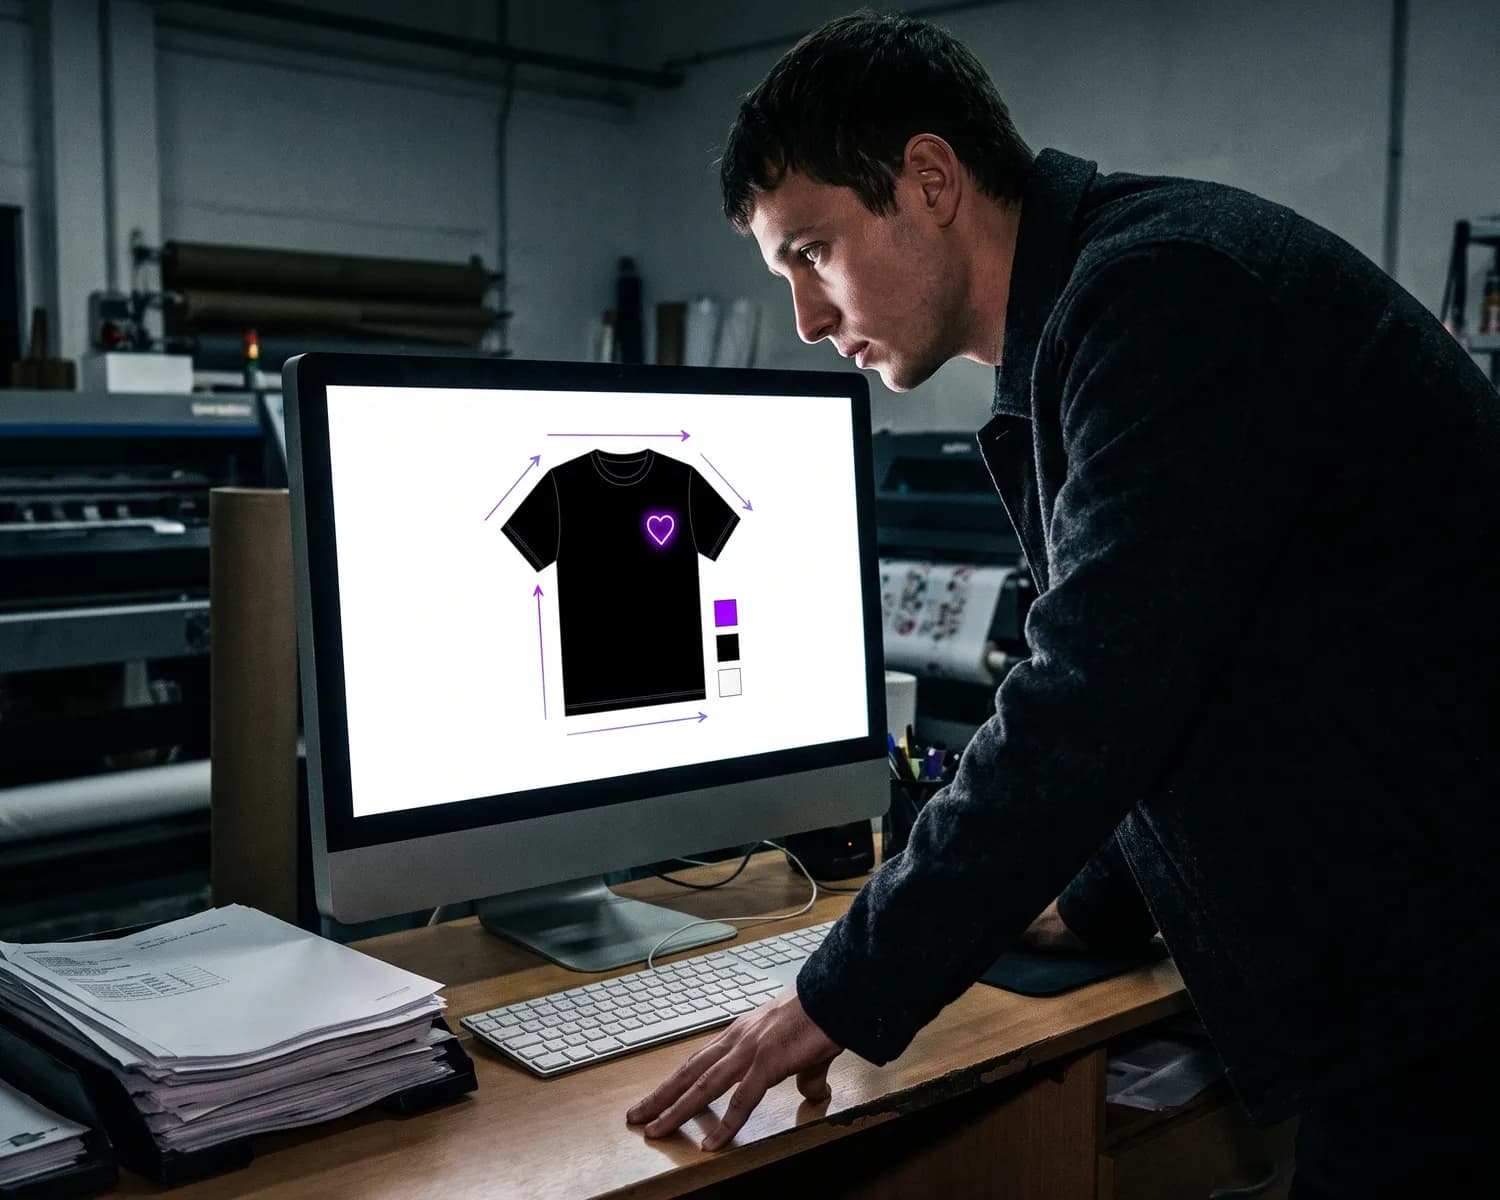
The print proof (in France, the BAT, for "bon à tirer") is the final proof before printing: a contractual mockup of your customized garment, with the design at its size, placement and colors. You check it point by point, then your written approval launches production and becomes binding.
There it is in your inbox: your first proof. A mockup of your garment with the design placed on it, and a waiting question from the workshop: "Good to go?". This moment is the most important of your order, and nobody ever taught you how to handle it. This article walks you through it: what this document really is, what you must check point by point before replying, and what your OK commits you to.
The proof in plain words: what you have received
BAT stands for "bon à tirer", the French term for the final print proof. It is the last check before production starts: a simulation of your finished garment, with the design at its size, in its placement, in its colors. In textile customization, it almost always arrives as a digital file (a PDF or an image), sometimes with a physical sample for large orders. If you are discovering the full journey of an order, our guide to getting t-shirts printed walks through it end to end: the proof is the second-to-last step.
This document is not a courtesy: it is a contract. Until you have given your written approval, the workshop launches nothing. Once your approval is given, what the proof shows becomes the reference for what will be printed. In other words: the workshop is not asking whether you like the garment, it is asking you to verify that everything is exact. That is your job, not theirs, and it is the whole point of the checklist below.
One reassuring note: asking for corrections is normal and expected. A proof that goes through one or two rounds before approval is the standard way this trade works, not an incident.
The approval checklist, point by point
Open the proof on a computer, at full size, and go through it in order. Each point takes a minute; together they save you from receiving 40 garments with an error on them.
1. The texts, letter by letter
The number one error on first projects is not technical: it is the typo nobody proofread. Read every text in the design out loud, letter by letter: the association's name, the slogan, proper nouns, accents, capitals. You have already read this file ten times? Exactly: the eye no longer reads, it recognizes. Have it proofread by someone discovering the design.
The blind spot of this proofreading is the logo. We look at it as an image, we do not READ what is written inside it. If it contains text (the club's name, a motto, a city, a founding year), read it like everything else: a mistake present in the original file will be printed as is, and it will be on you, since you approved it.
2. Dates and numbers
The classic trap of recurring projects: you start from last year's file, change two details, and the printed year stays the old one. The 2026 event handing out t-shirts marked 2025 is a true story in many workshops. Check every number in the design character by character: year, edition number, event date, phone number if there is one. A wrong digit is even harder to spot than a spelling mistake, because nothing "sounds" wrong when you read it.
3. Colors, knowing that your screen lies
Your screen displays colors in light; the fabric renders them in ink on cloth. The final result will always differ a little from what you see, and every screen displays differently (the same red changes between your phone and your computer). What you approve on colors: consistency (your brand's blue, not a surprise blue) and the contrast between the design and the garment color. If your project requires an exact color, ask the workshop whether a Pantone reference is planned: it is the common language that removes doubt. And when the stakes are high, a physical sample can be requested.
4. The real size of the design
On the proof, the design looks well proportioned: beware, everything looks well proportioned on a mockup. Find the dimension in centimeters (it should appear on the document) and make it real: take a ruler and draw the rectangle on a garment you own. An 8 cm chest logo and a 12 cm chest logo tell two very different stories once worn. If the dimension is not on the proof, ask for it before approving: it is information you are entitled to.
5. Placement and centering
Check where the design sits: left chest, centered chest, back, sleeve, and its alignment. Standard positions have precise trade benchmarks, but your role is simpler: is it the placement you asked for, and is it centered on the garment? A design slightly off on the mockup will be off on the whole run.
6. The product itself
The proof also shows the garment, and it is the point people miss because they only look at their design. Check the exact product reference, its color (the black you asked for, not navy), and reread the order summary while you are at it: the sizes and quantities per size. A size-grid error is no easier to fix than a typo.
7. The stated technique
Finally, check that the technique shown is the one agreed on the quote: screen printing, embroidery, DTF, flex. This is not an expert detail: the technique determines the look, the feel and the wash resistance of your design (our screen printing or flex comparison shows how much the result changes). If the proof states something different from the quote, ask before approving.
The traps of your first proof
Four reflexes that cost dearly, and their antidotes.
Approving on your phone. Small screen, flattering colors, invisible details: the phone is the perfect tool for missing an error. A proof is read on a computer, zoomed in.
Approving fast because the workshop is waiting. The production lead time only starts at approval, so you feel rushed. But no order ever suffered from a proof reread calmly overnight, while dozens suffer every week from an OK sent in thirty seconds. Sleep on it.
Proofreading alone. You know the design by heart, so you no longer see it. Send the proof to someone who has never seen it, with one simple instruction: "find what's wrong".
Confusing the proof with the final result. The proof validates the content (texts, colors, size, placement), not the material. The relief of an embroidery, the feel of a transfer, the texture of the fabric: none of that can be judged on a PDF. If the material finish is decisive for you, the answer is called a sample, not a proof.
Your OK is binding: what happens next
This is the rule of the game to know before replying. The approved proof is binding: an error present on the proof you approved is on you, even if it started as the workshop's typo. Conversely, if the delivered product does not match the approved proof, the error is on the workshop: that is your protection, and it is why this document exists.
Two practical consequences. First, keep a record: archive the approved proof and your written reply, they are your reference in case of a dispute. Second, never an OK "with reservations" ("it's fine, but fix the date"): a conditional approval is a source of misunderstanding. If something must change, ask for a corrected proof and approve the new version. One more round trip beats a whole run printed on a misunderstanding.
A final word to put things in perspective: this document protects both parties, and serious workshops know it well. A workshop that sends you a clear proof, dimensions stated, and accepts your correction requests without sighing, tells you something about how it works. That too is how you choose your workshop.
FAQ
Questions fréquentes
Can you reject a proof and ask for changes?
Yes, that is exactly its role: the proof exists to be corrected BEFORE printing. Point out precisely what must change, the workshop sends a corrected version, and you approve that one. No serious workshop takes offense.
How many proof rounds are normal?
One or two rounds are common on a first project. Beyond that, the problem usually comes from a vague initial brief: restate your request in writing (design, placement, dimensions, colors) rather than correcting in small touches.
Is a print proof paid?
The digital proof is generally included in the service, sometimes with a limited number of free corrections. The physical sample, on the other hand, is usually charged. Practices vary from workshop to workshop: ask when requesting the quote.
Can the workshop print without an approved proof?
On a custom order, a serious workshop does not print without your written approval: it is their protection as much as yours. If someone offers to launch production without a proof to save time, refuse: the days gained are not worth a failed run.
What if the delivered product does not match the approved proof?
The approved proof is your contractual reference: photograph the defect, compare it to the archived proof and contact the workshop with both documents. If the discrepancy is confirmed, the reprint or the commercial gesture is on them.
Passer à l'atelier
Vous savez ce qu'il vous faut. Trouvez l'atelier qui le fait.
L'annuaire recense les ateliers ville par ville, avec leurs techniques et leur contact direct. Un devis rapide vous répond sous 24 h.